
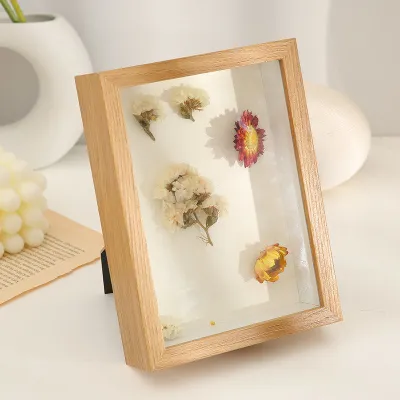
Preserving cherished memories requires more than tucking them away in a drawer or pasting them flat in an album. A shadow box frame offers a three-dimensional canvas where you can combine flat photographs, textured tickets, heavy medals, and delicate keepsakes into a cohesive visual narrative. Unlike standard picture frames, the generous depth of a shadow box allows objects of varying thicknesses to coexist, creating a captivating interplay of shadows and layers.
To achieve a professional, gallery-worthy display, you must balance aesthetic design with preservation techniques. The arrangement process involves careful planning, selecting materials that protect your items from degradation, and mastering layering methods that draw the eye through your personal history. By taking a systematic approach to layout, adhesive selection, and depth creation, you can transform a collection of loose mementos into a striking piece of wall decor that stands the test of time.
Planning Your Shadow Box Layout and Theme
Before peeling any adhesive backing or cutting mounting boards, you need a clear conceptual roadmap for your shadow box. A successful display relies on a singular, well-defined theme that instantly communicates its story to anyone who pauses to look. Whether you are commemorating a recent trip across Southeast Asia, celebrating a university graduation, or preserving a family heirloom, keeping the focus narrow ensures the final display looks curated rather than cluttered.
Products mentioned in this guide
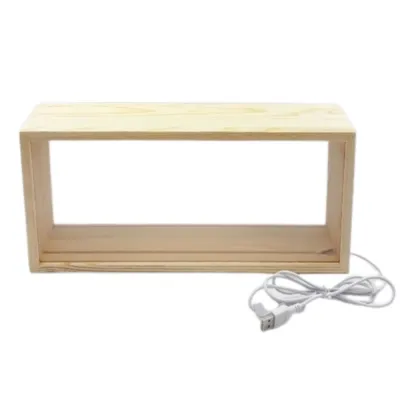
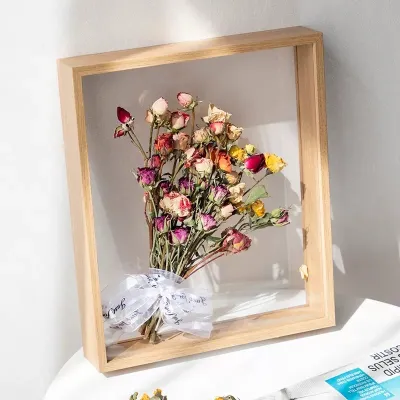
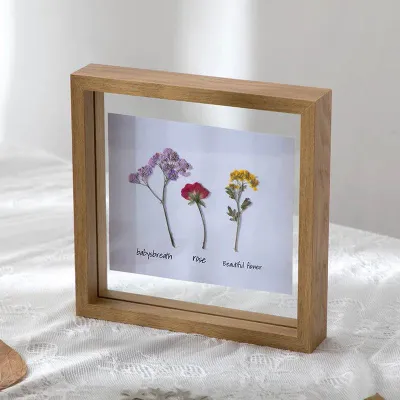
11 Lazada user ratings
same quality, made out of wood and glass, bought more but one of them is damaged/dirty
nice and looks well made glass corner was chipped though so a bit bummed over that
second time ordering, good service with replacement for damaged piece
Good quality
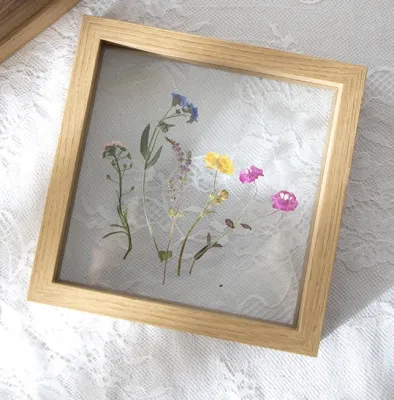
35 Lazada user ratings
Super fast delivery, it was delivered the next day and it has a thickness that can be stably displayed.
The wood is of pretty good quality. Got a free gift as well! Thank you!
Fast delivery. received in 2 days. Item same as photo.
very good Size 👍 👏
7 Lazada user ratings
Fast delivery, good quality for the price. Also very well packed.
Prices are valid at publication and may change. Please refer to the product page for the latest price.
Begin by gathering all potential items and sorting them systematically. Group your items by size, color palette, and historical relevance, then ruthlessly edit the collection. Overcrowding is the most common mistake in shadow box design; when too many objects compete for attention, the eye cannot find a natural resting place. Select one or two larger anchor items—such as a graduation tassel, a vintage map, or a prominent photograph—to serve as your focal point, and choose smaller supporting elements like ticket stubs, pins, or coins to fill the surrounding space.
Once you have selected your core pieces, create a physical mock-up on a clean, flat surface. Lay down a sheet of paper cut to the exact dimensions of your shadow box’s interior backing board. Arrange your items within this boundary, experimenting with different configurations. Take photos of various layouts from directly overhead using your smartphone. This allows you to compare different compositions, evaluate the balance of empty space (or negative space), and check the sightlines of your design before making any permanent commitments.
Gathering Tools and Materials for Assembly
The longevity of your shadow box depends heavily on the materials you use to secure and support your memorabilia. Standard household glues and acidic cardboards can cause irreversible damage, leading to yellowing, brittle paper, and chemical staining over time. To safeguard your items, select acid-free mat boards or fabric-wrapped panels as your primary backing materials. Fabric backings, such as linen or velvet-wrapped boards, are particularly useful if you plan to use pins to secure heavier three-dimensional objects, as they hide pinholes and provide a rich, textured contrast.

Adhesives must be chosen based on the weight of each item and whether you want the mounting process to be reversible. For delicate paper items like photographs, vintage letters, or historic tickets, preservation is key. Use archival photo corners or acid-free sleeve mounts, which hold the items securely in place without any adhesive touching the artifact itself. For lightweight three-dimensional items, archival glue dots or acid-free double-sided tape offer a strong, reliable bond that can often be carefully peeled away if you decide to reconfigure the frame in the future.
To execute your layout with precision, assemble a dedicated toolkit before starting. You will need a pair of fine-tipped tweezers for positioning tiny elements without transferring oils from your fingers. A sharp craft knife and a heavy metal ruler are indispensable for cutting custom mat boards and foam spacers cleanly. Keep a supply of acid-free foam core board on hand; these can be sliced into small blocks to act as hidden risers, elevating specific items to create distinct levels of depth within the frame.
Step-by-Step Guide to Arranging and Securing Items
With your layout finalized and your tools ready, you can begin the physical assembly of your shadow box. Start by preparing your backing board in a clean, dust-free workspace. Lay your chosen backing material flat and refer to the overhead photo of your preferred mock-up. Using a light-colored, soft graphite pencil and a metal ruler, mark faint placement guidelines directly onto the backing board. These subtle marks will guide your alignment and will be completely hidden once your items are secured in place.
Always secure your background and flat items first. If you are mounting a large background photograph or a decorative map, apply archival double-sided tape or photo corners to the corners of the document. Gently press the item onto the backing board, working from the center outward to prevent air bubbles or wrinkles. For smaller flat items like ticket stubs or postcards, position them according to your pencil guidelines, ensuring they sit perfectly level. Using a small spirit level can help verify that your horizontal lines are straight before the adhesive cures.
Next, address your three-dimensional objects, which require more robust mounting techniques. Heavy items such as medals, pocket watches, or thick jewelry cannot rely on standard tape. For medals with ribbons, you can wrap the ribbon around the top of the backing board and secure it on the reverse side with heavy-duty archival tape, or use fine, rust-proof sewing pins inserted at an angle through the fabric backing. For solid, heavy objects, consider using thin, clear monofilament line. Carefully poke tiny holes through the backing board on either side of the object, thread the line over the item, and tie it securely at the back of the board, placing a small piece of cardboard under the knot to prevent it from pulling through.
Before you proceed to the final sealing stage, step back and conduct a thorough alignment check. Prop the backing board upright to simulate how it will hang on a wall. This step is crucial, as gravity can cause loosely secured items to sag or shift. Observe the layout from different angles to ensure no unsightly adhesive is visible and that all elements remain firmly in place. Make any necessary adjustments with your tweezers or craft knife while the adhesives are still workable.
Layering Techniques for Depth and Visual Interest
What elevates a shadow box from a simple framed collage to an eye-catching work of art is the deliberate use of depth. To maximize the physical space inside the frame, employ layering techniques that create distinct foreground, midground, and background planes. You can easily achieve this by cutting small squares of acid-free foam core board to act as hidden risers. Adhere these foam spacers to the back of select photographs or lightweight keepsakes before mounting them to the backing board. This lifts the items off the background, casting soft, natural shadows that give the display a dynamic, three-dimensional quality.
Overlapping is another highly effective technique for creating visual depth, but it must be executed with care. When overlapping flat items, ensure that crucial details, signatures, dates, or faces are not obscured. For instance, you can tuck the corner of a concert ticket slightly behind a photograph of the event, or let a decorative ribbon drape gently over the edge of a certificate. This technique mimics the natural way items accumulate in a scrapbook, making the arrangement feel organic and narrative-driven.
To maintain visual harmony, you must also balance the visual weight of your items across the layout. Visual weight is determined by an item’s size, color intensity, and physical thickness. Large, dark, or highly textured objects naturally draw the eye first and can make the display feel lopsided if they are all clustered on one side. Distribute these heavy elements evenly across the frame, perhaps placing a large item in the lower-left quadrant and balancing it with a grouping of smaller, high-contrast items in the upper-right. Use negative space strategically around these heavier elements to give them room to breathe.
Final Assembly and Hanging Your Shadow Box
The final stage of your project involves sealing the shadow box and mounting it securely on your wall. Before placing the backing board into the frame, clean the interior glass or acrylic panel meticulously. Dust, lint, and fingerprints trapped inside the frame will be highly visible under room lighting and are incredibly frustrating to clean once the frame is sealed. Use a microfiber cloth and an appropriate glass cleaner, ensuring the surface is completely dry and free of static electricity before proceeding.
Carefully lower your completed backing board into the frame shell. Ensure that no loose elements brush against the glass, and check that the edges of the backing board align perfectly with the frame’s inner rebate. Secure the backing board tightly using the frame’s integrated metal tabs, turn buttons, or points. If your frame uses flexible points, use a dual-point driver to secure them firmly without causing sudden vibrations that could dislodge your carefully mounted items.
Because shadow boxes contain three-dimensional objects, they are significantly heavier than standard picture frames. Before hanging, weigh the completed assembly to determine the appropriate mounting hardware. Do not rely on simple adhesive strips or small nails. Check the manufacturer’s hardware specifications and select wall anchors, heavy-duty picture hooks, or toggle bolts that are rated for your frame’s specific weight and your wall type—whether it is drywall, plaster, or concrete. If you are hanging a particularly heavy or wide shadow box, locate a wall stud and secure at least one mounting screw directly into the timber for maximum stability and safety. If you are unsure about the load-bearing capacity of your wall or the installation of heavy anchors, consult a qualified professional to prevent damage or injury from a fallen frame.
Frequently Asked Questions (FAQ)
How do I ensure my photos and tickets do not yellow over time?
To prevent your photos, tickets, and paper memorabilia from yellowing and deteriorating, always use acid-free, archival-grade backing boards and adhesives. Standard papers and glues contain lignin and acids that break down fibers over time, causing unsightly brown stains. Additionally, position your completed shadow box away from direct, harsh sunlight. Ultraviolet (UV) rays accelerate the fading of inks and the yellowing of paper. If your display area receives significant natural light, consider upgrading to a shadow box frame equipped with UV-filtering acrylic or glass to provide an extra layer of protection for your cherished keepsakes. In humid climates like Singapore, moisture can also accelerate degradation and mold growth. To combat this, ensure your mounting environment is dry, and consider placing a small, flat silica gel packet behind the backing board before sealing the frame.

Community discussion
Share your experience or ask a question. Comments are reviewed before publication.