
To keep your Ecoya diffuser operating at its peak, you must clean it regularly by unplugging the unit, emptying any residual water, and gently wiping down the internal tank. Over time, essential oils and minerals from water can build up on the delicate ultrasonic plate, which reduces mist output and alters the purity of your favorite fragrances. A simple routine cleaning after every few uses, combined with a periodic deep descaling session, ensures consistent scent diffusion and prevents mechanical strain on the device.
Why Regular Cleaning and Descaling Matter
Ultrasonic diffusers rely on a small ceramic disc that vibrates at extremely high frequencies to turn water and essential oil into a fine mist. When oil residue is left in the tank, it can cling to this disc, dampening the vibrations and leading to a noticeable drop in mist production.
Standing water is also a prime breeding ground for mold, mildew, and bacteria. If these microorganisms multiply inside the tank, they will be dispersed into your living space the next time you turn on the device, potentially compromising indoor air quality.
Products mentioned in this guide
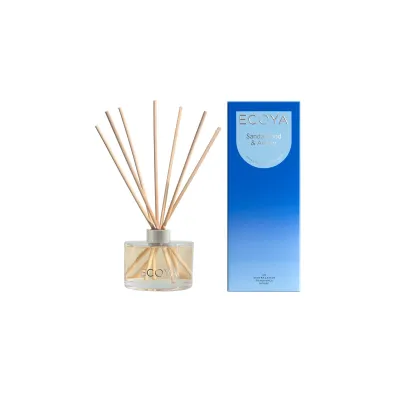
1 Lazada user ratings
Do not have the scent snd noticed its a new packing. It dry up within 3 weeks.
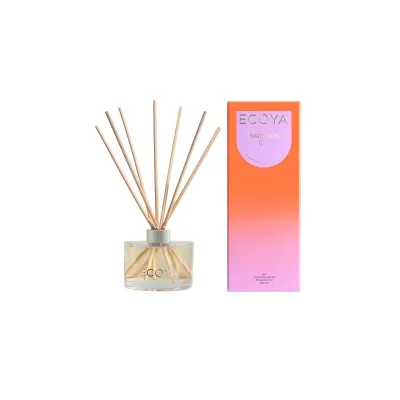
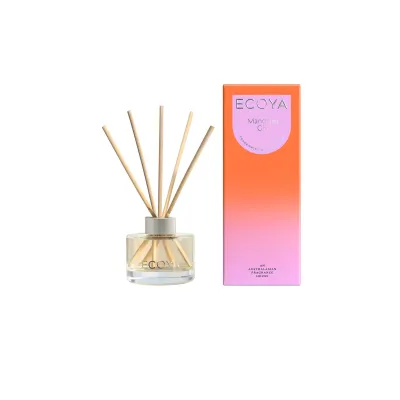
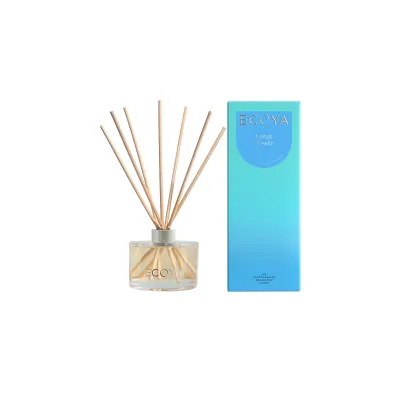
2 Lazada user ratings
Love the awesome service with Ecoya! Speedy order expedition with item well packed and always replying with detailed explanation on the prod…Read full reviewShow less
Love the awesome service with Ecoya! Speedy order expedition with item well packed and always replying with detailed explanation on the product. Thank you for the free gift of reed sticks too! 😊❤
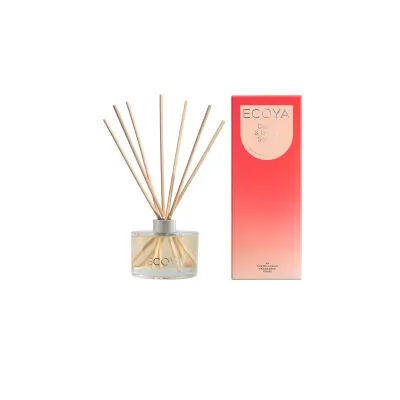
5 Lazada user ratings
Thank you very much for the free gifts. My favourite room scent.
Thank you very much for the gift. Happy surprise!
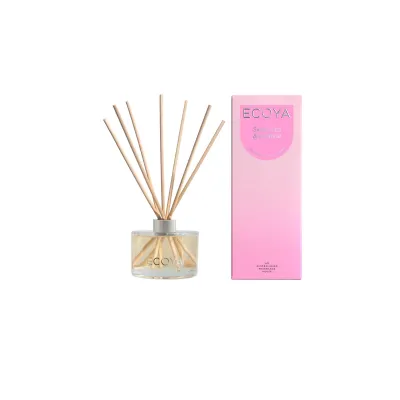
Prices are valid at publication and may change. Please refer to the product page for the latest price.
Furthermore, residual oils from previous sessions can oxidize and create a sticky film. This film not only distorts the aroma of new essential oils but can also cause permanent clogging of the misting mechanism.
By establishing a consistent maintenance routine, you protect the sensitive electronic components from premature wear. This simple habit preserves the integrity of the device, ensuring that each fragrance experience remains clean, crisp, and exactly as the perfumer intended.
Tools and Materials You Will Need
Before starting, gather a few gentle cleaning supplies to avoid scratching or chemically damaging the diffuser’s components. A soft microfiber cloth is ideal for wiping down the outer casing and the interior water reservoir without leaving lint behind.

For tight spaces and the delicate ultrasonic plate, keep a handful of cotton swabs or a very soft-bristled brush nearby. These tools allow you to apply targeted, gentle pressure to remove stubborn oil rings without scratching the ceramic disc.
You will also need clean, distilled or filtered water for rinsing the tank. Distilled water is highly recommended because it lacks the dissolved minerals found in tap water, which are the primary cause of scale buildup.
For mild cleaning and descaling, white vinegar or isopropyl rubbing alcohol can be used, provided you verify their compatibility with your specific Ecoya model’s user manual. Never use harsh household chemicals, bleach, aerosol sprays, or abrasive scouring pads, as these can degrade the plastic housing and permanently ruin the ultrasonic transducer.
Step-by-Step Guide to Routine Cleaning
Always begin by turning off the diffuser and completely disconnecting the power cord from both the wall outlet and the base of the device. Handling any electrical appliance near water carries inherent risks, so isolating the power source is an essential first safety step.
Remove the outer cover and the inner lid of the diffuser, setting them aside on a dry, flat surface. Carefully pour out any remaining water from the reservoir, making sure to pour from the opposite side of the air outlet or vent to prevent water from slipping into the internal electronics.
Dampen your microfiber cloth with a small amount of warm water and a drop of mild dish soap if necessary, then gently wipe down the entire interior of the water tank. Pay close attention to the waterline where oil residue tends to accumulate and form a visible ring.
Locate the small, circular ultrasonic plate at the bottom of the tank, which is the heart of the misting mechanism. Dip a cotton swab in clean water or a highly diluted white vinegar solution, then lightly roll it across the surface of the plate to lift any stuck-on oil without pressing down hard.
Wipe the exterior of the diffuser with a dry or slightly damp microfiber cloth to remove dust and fingerprints. Avoid getting any moisture near the power jack, buttons, or ventilation grates on the bottom of the unit.
Allow all components to air-dry completely in a well-ventilated space before reassembling the unit or adding fresh water. Trapping moisture inside a closed, dark tank can encourage mold growth, so patience during the drying phase is key.
How to Descale the Diffuser for Deep Maintenance
Over weeks of regular use, you may notice observable signs of mineral scale buildup, such as a sputtering mist, a significant reduction in mist volume, or unusual humming noises during operation. These symptoms indicate that mineral deposits have hardened on the ultrasonic plate, forcing the motor to work harder.
To descale the unit safely, prepare a mild cleaning solution by mixing equal parts of white vinegar and distilled water, or follow the specific ratios outlined in your Ecoya user manual. Vinegar is a natural, mild acid that effectively dissolves calcium and magnesium deposits without damaging the plastic tank.
Fill the water reservoir with this mixture up to about half of the maximum fill line, ensuring the solution covers the ultrasonic plate entirely. Let the mixture sit undisturbed in the tank for approximately 15 to 30 minutes to allow the vinegar to break down the hardened scale.
If your specific manual permits running a short cleaning cycle, plug the unit in and run it for 5 minutes in a well-ventilated room to let the solution circulate through the misting pathway. However, if the manual advises against running the unit with vinegar, simply let it soak without turning it on.
After the soaking or running period, unplug the device once more and pour out the vinegar solution safely away from the air vent. Use a clean cotton swab to gently wipe away any softened scale remaining on the ceramic disc and the corners of the tank.
Rinse the reservoir thoroughly with clean, distilled water several times to eliminate any lingering vinegar scent, then wipe it dry with a soft cloth. If you notice any cracked plastic, degraded seals, or exposed wiring during this process, stop immediately and contact customer support instead of attempting further cleaning.
Daily and Long-Term Maintenance Best Practices
The simplest way to minimize the need for frequent descaling is to consistently use distilled or filtered water instead of tap water. Distilled water has undergone purification to remove minerals, meaning it leaves virtually no residue behind when vaporized.
Make it a habit to empty the water tank whenever the diffuser is not in use, especially if you plan to leave it idle for more than a day or two. Leaving water sitting in the reservoir invites bacterial growth and allows essential oils to separate and cling permanently to the plastic walls.
When storing your diffuser for an extended period, ensure it is thoroughly cleaned, completely dry, and packed away in a cool, dry environment. Keep the device out of direct sunlight, as prolonged exposure to UV rays and high heat can warp the plastic housing and degrade the internal seals.
Regularly inspect the power adapter, cord, and plug for any signs of physical wear, fraying, or damage. If you notice any exposed wires or bent prongs, discontinue use immediately and replace the power assembly to prevent electrical hazards.
Frequently Asked Questions (FAQ)
Can I use tap water in my Ecoya diffuser?
Yes, you can use tap water, but it is not the most ideal choice for long-term performance. Tap water contains dissolved minerals like calcium and magnesium, which quickly accumulate on the ultrasonic plate as scale. If you choose to use tap water, you will need to perform routine cleaning and descaling much more frequently to prevent the misting mechanism from clogging and sputtering.
How often should I descale the unit?
Rather than following a strict calendar schedule, you should base your descaling frequency on your usage habits and water hardness. If you use the diffuser daily or rely on tap water, aim to descale the unit every two to four weeks. For occasional users who stick to distilled water, descaling once every few months or whenever you observe a drop in mist output is usually sufficient.
What should I do if the diffuser stops misting after cleaning?
If your diffuser fails to mist after a cleaning session, first verify that the water level is below the maximum fill line, as overfilling will prevent the ultrasonic plate from creating mist. Next, check if any water accidentally entered the air vent during cleaning; if so, unplug the unit and let it dry completely for 24 hours. Finally, ensure the power cord is securely connected to both the wall outlet and the base of the device, and consult the troubleshooting section of your user manual if the issue persists.
Community discussion
Share your experience or ask a question. Comments are reviewed before publication.